 |
Object Positioner AppletClipboard for object positions
This has proven to be a very useful applet when laying out documents that are more complex in their design than a plain single flowing frame type document.
Once the values have been stored in the 'Object Positioner' palette (by Adjust clicking the Set/Get button) then they can be applied to another object just by clicking the Set button with Select. This has the effect of typing in the stored values into the info palette to change the selected object's values. So why is this any more useful than my PastePos applet that records a copied object's X and Y position so it can be pasted back at the same co-ordinates? Well, there is a connection between the two applets, but with Object Positioner it applies the values to an already existing object, where as PastePos will create the object when it is pasted into the document. Where it really comes into it's own is when you have complex layouts, perhaps on different Master Pages and want to make adjustments to repeating or matching elements on each Master Page. For example, say you had a document with five different chapters and each chapter had a frame holding a page number, which should be in the same position throughout the document. You may decide to move the page number frame from the foot of the page to the top corner. So you move the frame to the required position for the first chapter, then you have to make sure each of the other chapters is edited to match. With the Object Positioner applet, you could get the new values of the page number frame, then jump to each of the following chapters in turn, selecting the frame and clicking the 'Set' button to apply the recorded values. |
|
|
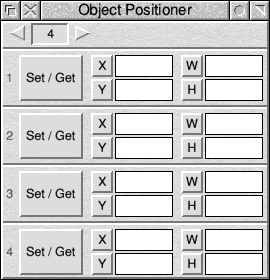 The Object Position applet provides a simple clipboard palette that stores a number of object positions – that is to say it records an object's X and Y position along with it's width and height – the values that are shown in the info palette when that object is selected.
Maybe a donation will help to speed up the development work
An example of Object Positioner in use
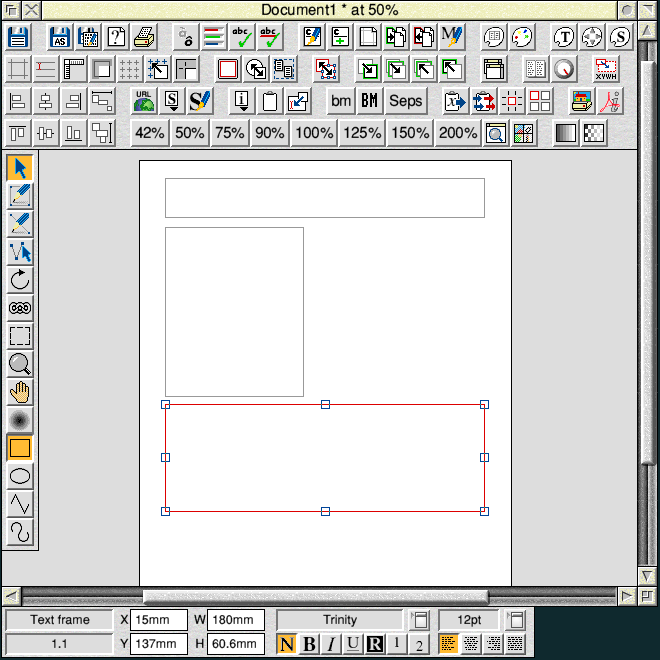
Here we have an Ovation Pro document currently with just one page that contains three frames.
These frames are then linked to set the flow of text from the top to the bottom.
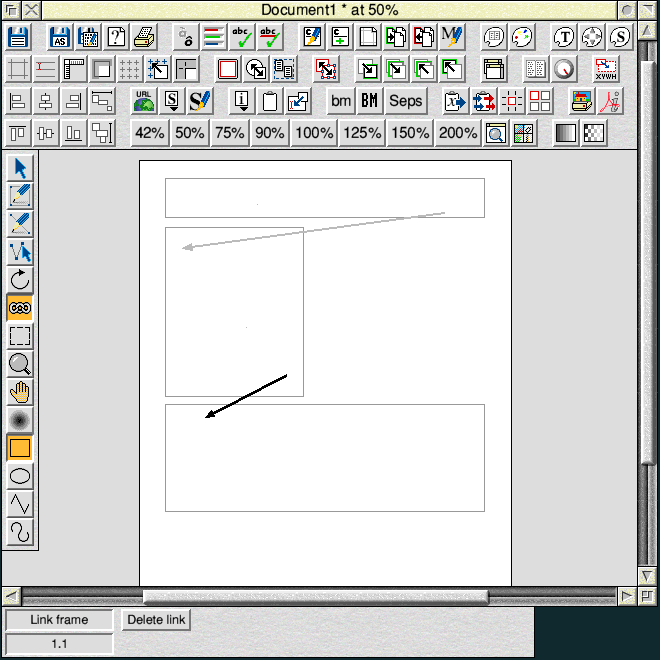
Next, some text is dropped into the first frame and the overflow of text flows through to the following frames. Note, I've set the text colour to a light grey so it doesn't detract from what I'm trying to illustrate, which is the frame positions.
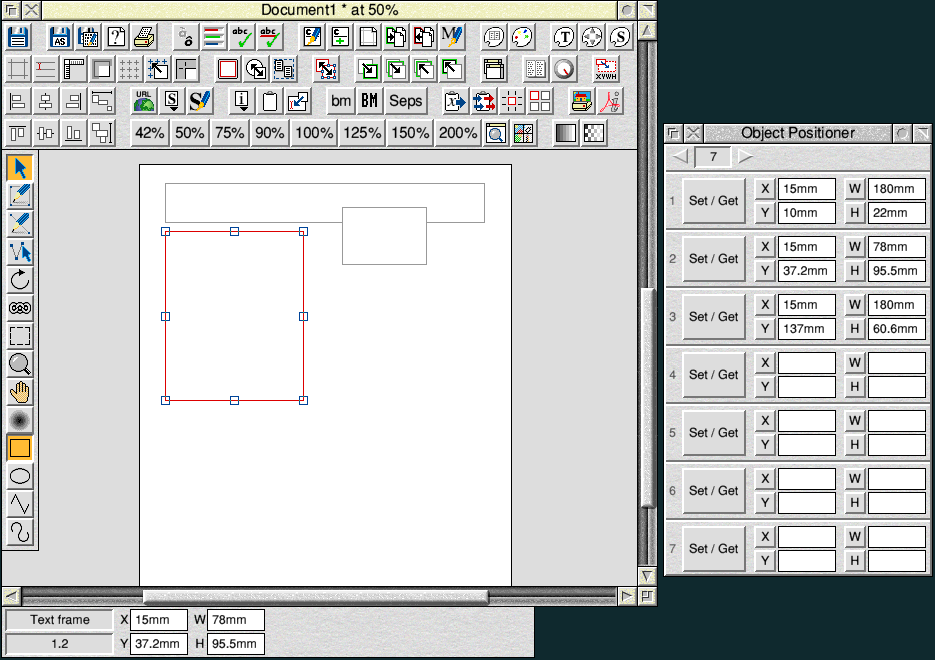
I then click on the first frame at the top to select it, and its position and size details are shown in the info palette at the bottom. I then click the 'Set/Get' button (line 1) in the Object Positioner palette with the Adjust mouse button (right click) to get these values, and you can see that the object's current X, Y, width and height values have been copied into the Object Positioner window.
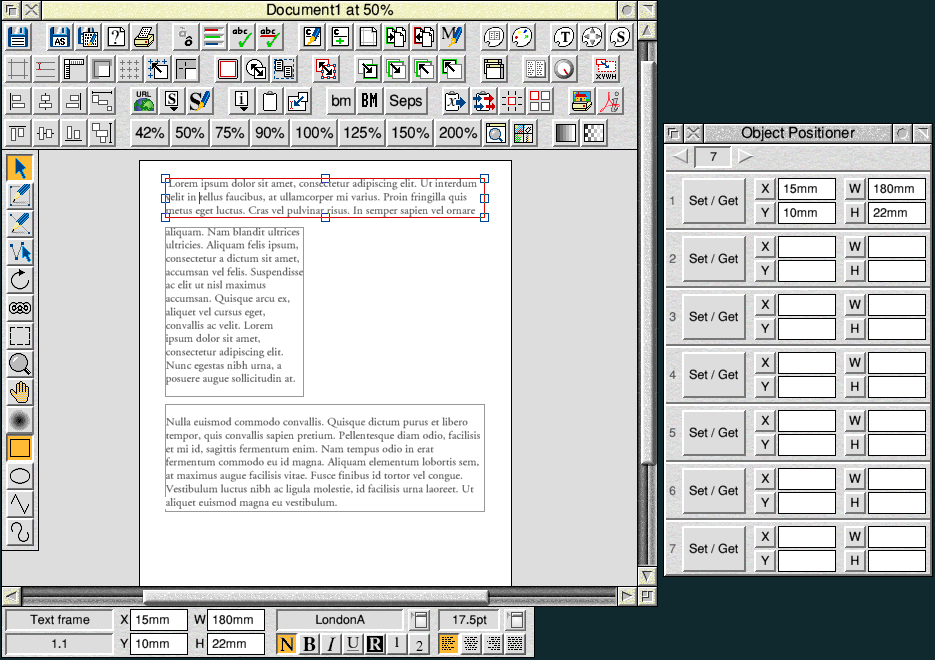
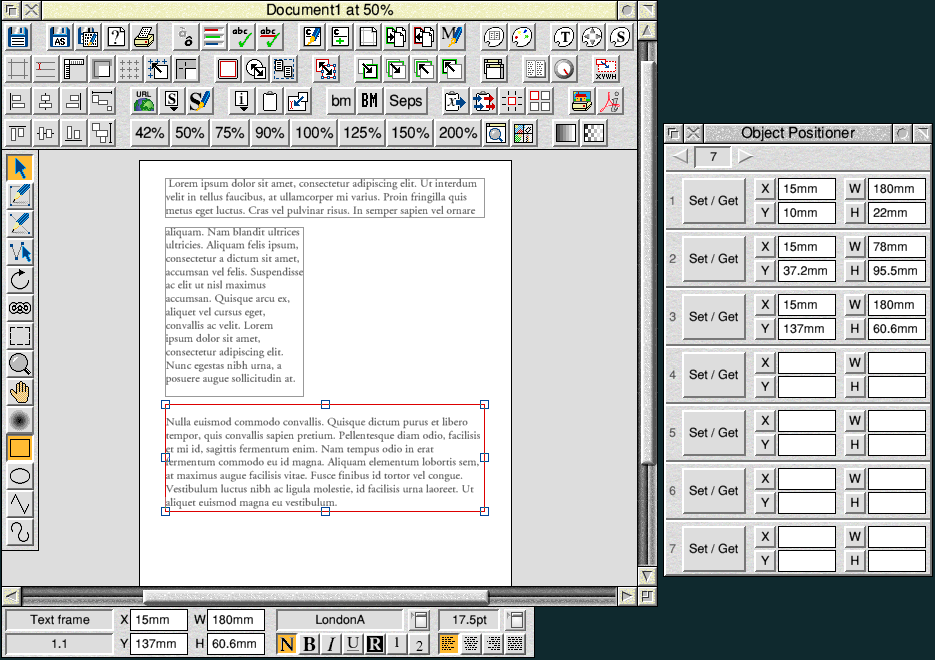
Continuing to do the same for the next two frames and storing those values in lines 2 and 3 of the Object Positioner palette gives me what you can see below:
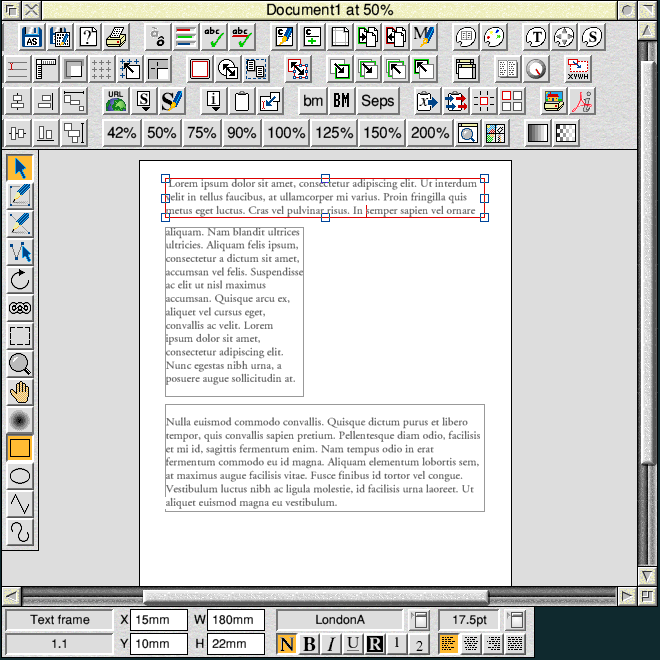
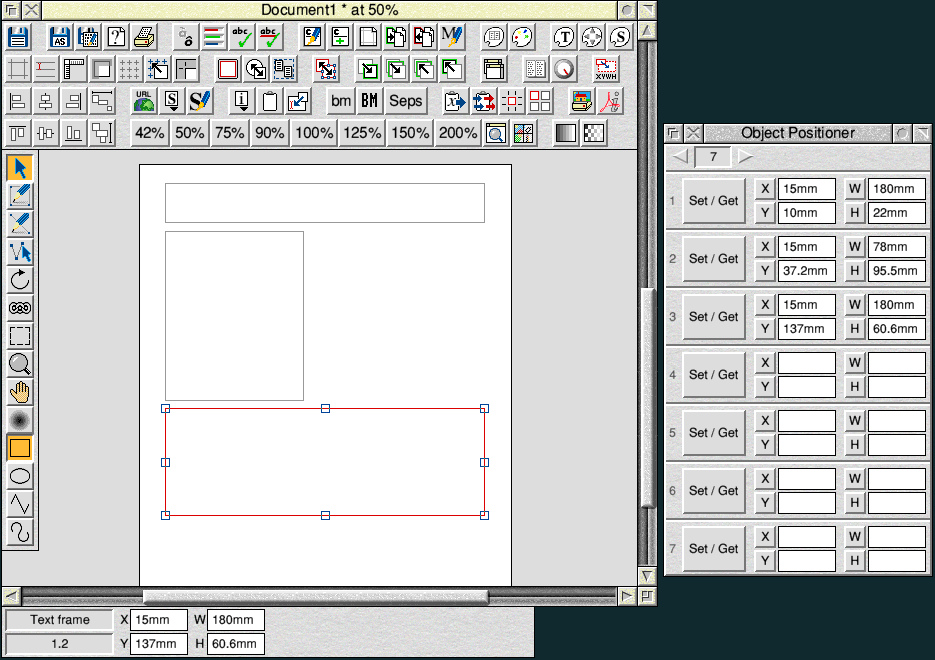
Now I want to create a similar layout on a new page, so I insert another page after the first and create three small frames and link them together.
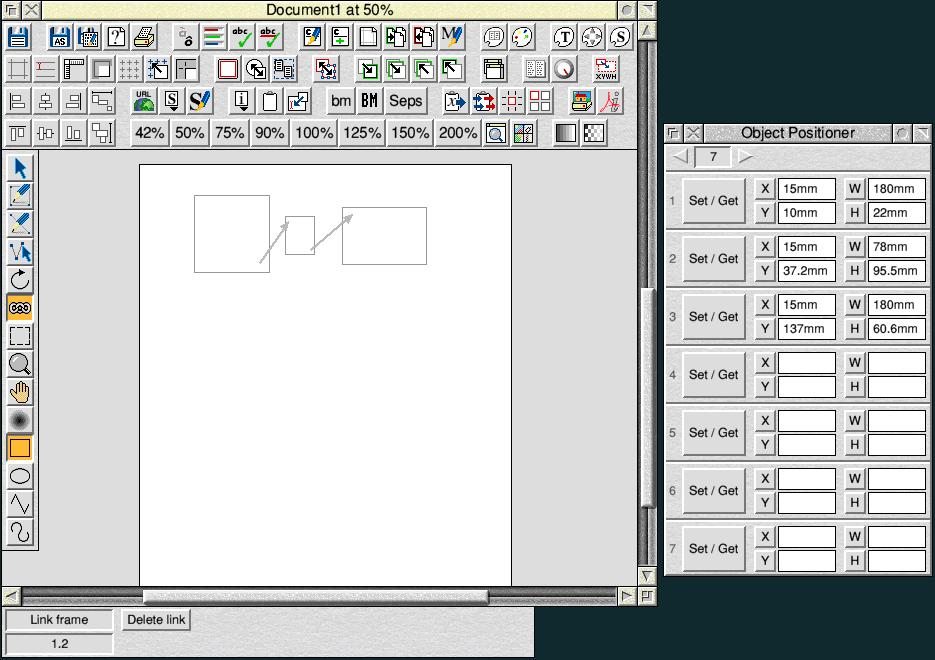
Selecting the first frame, I then Select click (left click) the Set/Get button in line 1, which changes the frame to use the stored values.
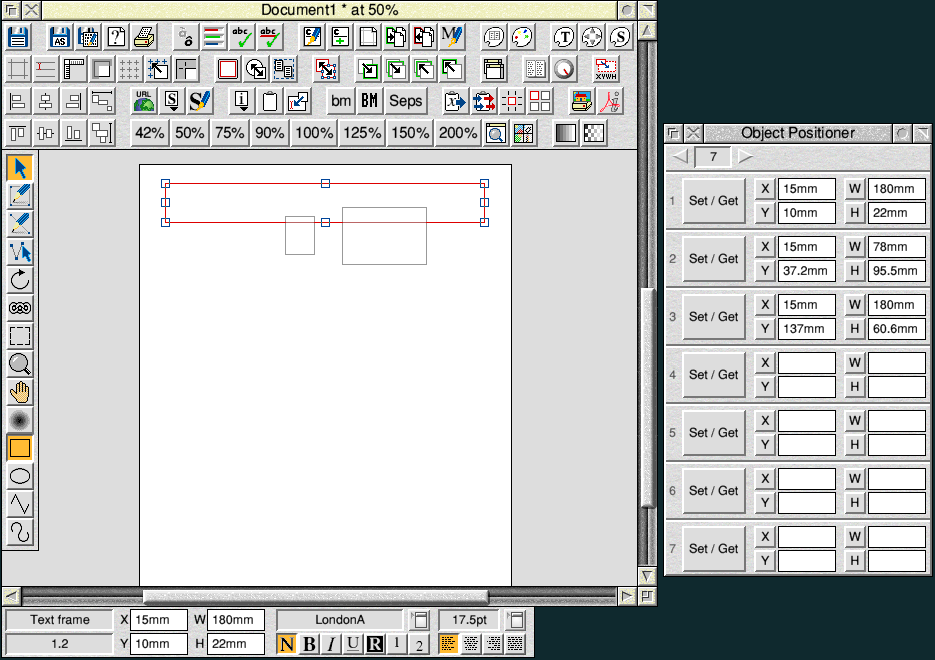
Selecting the second frame and doing the same but clicking the Set/Get button in line 2 gives this:
And finally, the same with the third frame completes the matched layout to page 1.
There are some other useful little touches to the applet.
- Firstly, if some of the values in the Object Positioner palette are blank in a line then applying that line to the selected object will only update those elements which hold a value. For example if a line only had a value in the width field, then applying that to an object would only change its width value, with all others being left unaltered.
- The X, Y, W and H labels in the palette are buttons that act in the same way as the Set/Get button but only for that value. So an Adjust click on the Y button would get the Y value of the selected object and store it in the Object Positioner palette. Whereas, clicking the Y button in the palette with the Select mouse button would change (set) the current object's Y value to that stored in the palette.